Slab Leak Detection Methods Explained: Acoustic, Thermal, and Pressure Testing in Fairfield
A slab leak is a water line leak under a home’s concrete foundation. Because the pipe is buried, the leak cannot be seen directly. Detection methods exist to answer two questions: is there really a leak, and where exactly is it? This post explains the three main methods used to answer those questions, how each one works, and what a homeowner can expect from each.
This is a detection explainer only. It covers how leaks are found, not how they are repaired. Repair options belong on the service side, and this post deliberately stays on the finding side.
Why Slab Leaks Need Special Detection
Most plumbing leaks announce themselves with a puddle, a stain, or a drip. A slab leak hides under concrete, so its early signs are indirect: a water bill that climbs without a change in use, a warm spot on the floor, the sound of running water when no fixture is on, or dampness at the base of a wall.
Those signs justify suspicion, but they do not locate a leak. Digging based on a guess risks breaking concrete in the wrong place, which is expensive and disruptive. Detection methods narrow the search before any concrete is touched, which is why a careful detection step matters so much.
Method 1: Acoustic Listening
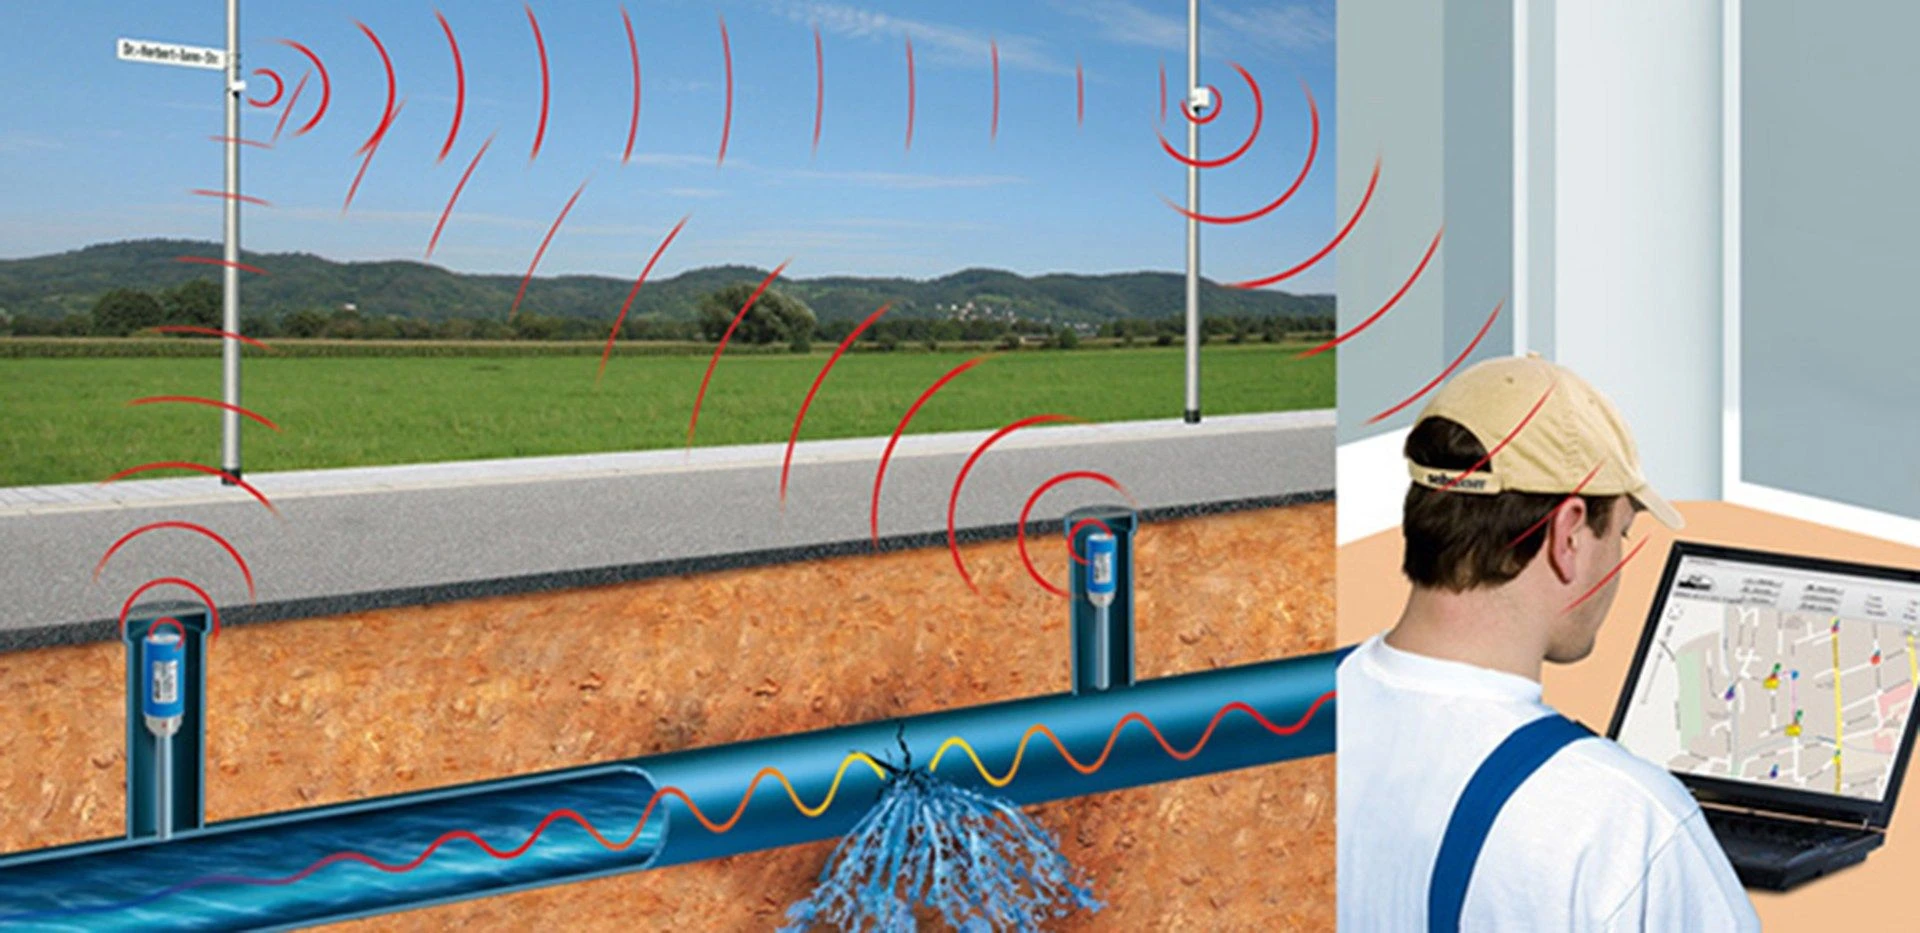
Acoustic detection uses sensitive listening equipment to hear water escaping from a pressurized pipe. A technician places sensors on the floor, at fixtures, and along the suspected line, then listens for the distinctive sound of water spraying or hissing under pressure.
How it works in practice: the water supply is kept on so the leak produces sound. The technician moves the sensor across the slab in a grid pattern, comparing sound strength at each point. The loudest point usually marks the leak’s location, sometimes within a small area.
What it is best at: pinpointing pressurized supply-line leaks under a slab, especially when the leak is actively spraying. It is often the primary method when the home has a clear symptom, such as the sound of running water with all fixtures off.
Its limits: background noise matters. Appliances, traffic, and other water use can interfere. Very small leaks may produce faint sound, and drain-line leaks (which are not pressurized) do not produce the same acoustic signature, so this method fits supply lines better than drains.
Method 2: Thermal Imaging
Thermal imaging uses an infrared camera to map surface temperatures across the floor. A hot water line leak warms the concrete and flooring above it, creating a heat pattern that the camera can see even when the eye cannot.
How it works in practice: the technician scans the floor systematically, watching for an unusual warm plume or streak that follows a pipe path. Cold water leaks are harder to spot this way, because the temperature difference from the surrounding slab is smaller, but a hot line leak often shows up clearly.
What it is best at: hot water slab leaks, and leaks where the general area is already suspected but the exact spot is unclear. It is non-invasive, quick to scan across a large floor, and useful for confirming what acoustic listening suggests.
Its limits: flooring type affects readings. Thick tile, rugs, and furniture can mask or distort the pattern. Sunlight through windows can create false warm spots, so scans are most reliable when conditions are controlled. Thermal imaging shows a pattern, not proof, so it is usually combined with another method for confirmation.
Method 3: Pressure Testing
Pressure testing answers a different question from the other two: it confirms whether a line is leaking at all, and which line. A section of pipe is isolated, pressurized to a test level, and watched. If pressure holds steady, that section is sound. If pressure drops, water is escaping somewhere in that section.
How it works in practice: the technician shuts off fixtures and isolates individual lines, often testing hot and cold lines separately. A pressure gauge records the reading over a set period. A steady reading clears the line. A falling reading confirms a leak in that isolated section, which then narrows where acoustic or thermal work should focus.
What it is best at: confirming a leak exists before any pinpointing work begins, and ruling out lines that are fine. It is also useful when symptoms are vague, such as a rising water bill with no visible sign, because it separates a real leak from a metering or usage question.
Its limits: pressure testing locates a leaking section, not a precise point. It tells you which line, not where along it. It also requires isolating lines, which takes time and access to shutoff points.
How the Methods Are Combined
In practice, detection rarely relies on a single method. A common sequence looks like this:
- Pressure testing first to confirm a leak exists and identify which line is losing pressure.
- Acoustic listening second to pinpoint the leak along that line.
- Thermal imaging alongside to confirm the location, especially for hot water lines.
Each method covers a weakness of the others. Pressure testing confirms but does not pinpoint. Acoustic listening pinpoints but can be fooled by noise. Thermal imaging confirms visually but can be masked by flooring. Together, they build a location estimate strong enough to justify opening a small, targeted area rather than a large exploratory one.
What Homeowners Can Observe Before Detection
Before any equipment arrives, a homeowner can gather observations that make detection faster:
- Water meter check: turn off all fixtures, then watch the meter. Movement with everything off suggests water is leaving the system somewhere.
- Warm spots: walk barefoot across floors and note any area that feels warmer than its surroundings, especially over a known hot line path.
- Sound check: in a quiet house, listen near floors and walls for running or hissing water with all fixtures off.
- Bill history: compare recent water bills with the same months in prior years. A steady climb without a usage change is a meaningful clue.
These observations do not replace professional detection, but they help a technician start in the right area. For a fuller picture of the early warning signs, see slab leak warning signs in Fairfield homes.
What Detection Does Not Include
Detection answers where the leak is. It does not, by itself, fix anything. Once a location is confirmed, the next conversation is about repair options, and that conversation belongs on the slab leak repair service page, where the scope of repair work is described. Keeping detection and repair as separate steps protects the homeowner: it means the decision about what to do next is made with a confirmed location in hand, not a guess.
What a Detection Visit Looks Like Step by Step
Homeowners often wonder what actually happens when a detection technician arrives. A typical visit follows a logical order, and knowing it in advance removes much of the anxiety around the process.
First, the technician goes over the symptoms with the homeowner: when the signs started, whether the water bill changed, and whether any warm spots or sounds have been noticed. This conversation matters, because it narrows the search area before any equipment comes out. A warm spot in a hallway, for example, points the work toward the lines running beneath that hallway rather than the whole slab.
Next comes the meter check. With all fixtures off, the technician watches the meter for movement. A moving meter confirms water is leaving the system somewhere, which justifies the detection work that follows. A still meter suggests the symptoms may have another explanation, such as a fixture issue or a metering question, and the visit may pivot to those possibilities instead.
Then the technician isolates lines for pressure testing, usually hot and cold separately. The line that loses pressure becomes the focus. After that, acoustic listening and thermal imaging are used together over the suspect area to converge on a location. The technician marks the floor at the strongest signal point, and may confirm from a second angle or with a second method before finalizing the mark.
Finally, the technician reports the findings: whether a leak was confirmed, which line is involved, and where the leak is located, with the mark on the floor as the physical record. That report is what the homeowner uses to decide the next step. Detection does not commit the homeowner to any particular repair; it simply replaces uncertainty with a location.
Most detection visits take a few hours, depending on the size of the home and how many lines must be isolated and tested. Homes with accessible shutoffs and clear floor areas go faster. Homes with heavy furniture over the suspect area or with lines that are difficult to isolate take longer, and a technician may ask the homeowner to move items before the visit to keep the work efficient.
When to Seek Detection
Consider professional detection when you notice a combination of signs: an unexplained water bill increase, a warm floor spot, the sound of running water with fixtures off, dampness at a wall base, or a meter that moves with everything shut off. A single vague sign may have another explanation, but two or more together warrant a detection visit. Early detection limits water waste and limits how long moisture sits against the foundation and flooring.
Call a Fairfield Plumber About Slab Leak Detection
If you suspect a slab leak in your Fairfield home, call +1 707 574 9715. We are available 09:00 to 17:00 daily. A plumber can run the detection methods described here, confirm whether a leak exists, and pinpoint its location so the next step is based on evidence. Call +1 707 574 9715 today.